Google Admob Setup

The AdMob module adds mobile ads to your app using banner and interstitial ad formats. Banner ads stay fixed at the bottom of the screen during app use. Interstitial ads take over the screen and should be used carefully due to their interruptive nature.
1. Why Google AdMob?
- Monetization Made Easy – Google AdMob lets you earn revenue through banner, interstitial, and rewarded ads without needing to write complex ad integration code.
- Wide Ad Network – As part of the Google Ads ecosystem, AdMob provides high-quality, relevant ads that increase user engagement and earnings.
- Automatic Mediation – AdMob’s mediation feature helps you maximize earnings by displaying ads from multiple networks automatically.
- Powerful Analytics – Integrated with Firebase, AdMob offers insights and reporting to help you track ad performance and user behavior.
- Global Reach – With advertisers worldwide, you can earn revenue no matter where your users are located.
- Easy Integration with WebToApps – Simply enter your AdMob App ID and Ad Unit IDs on WebToApps. No manual SDK integration required.
2. Setting Up Your AdMob Account
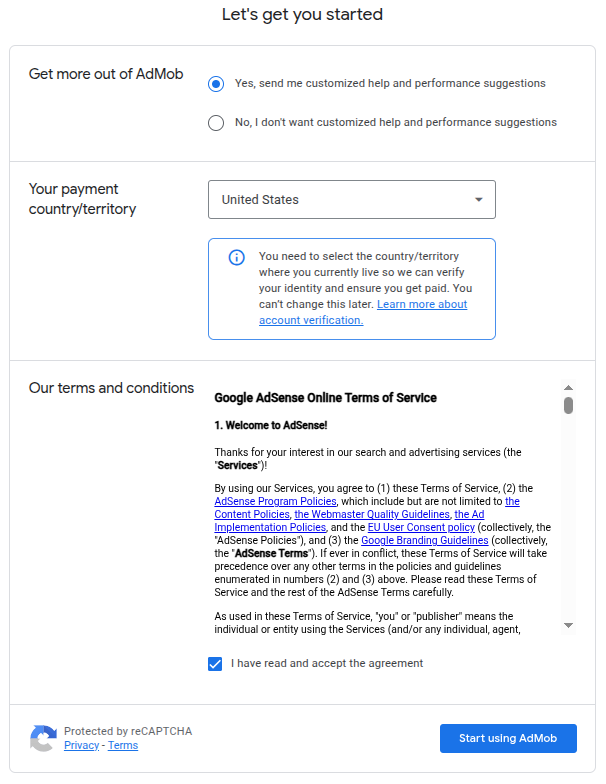
Create a free AdMob account at admob.google.com . Sign in, accept the terms, and complete your profile by selecting country, time zone, and currency.
3. Add Your App to AdMob
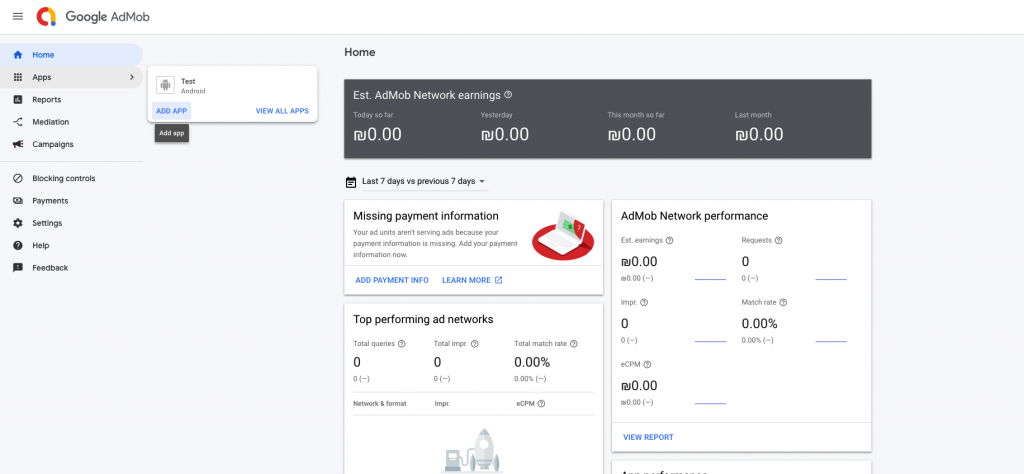
To register your app:
- Navigate to Apps → Add App in the AdMob dashboard.
- Choose whether your app is already published on the Play Store.
- Enter your app name and platform (Android or iOS).
- Click Add.
4. Create Ad Units
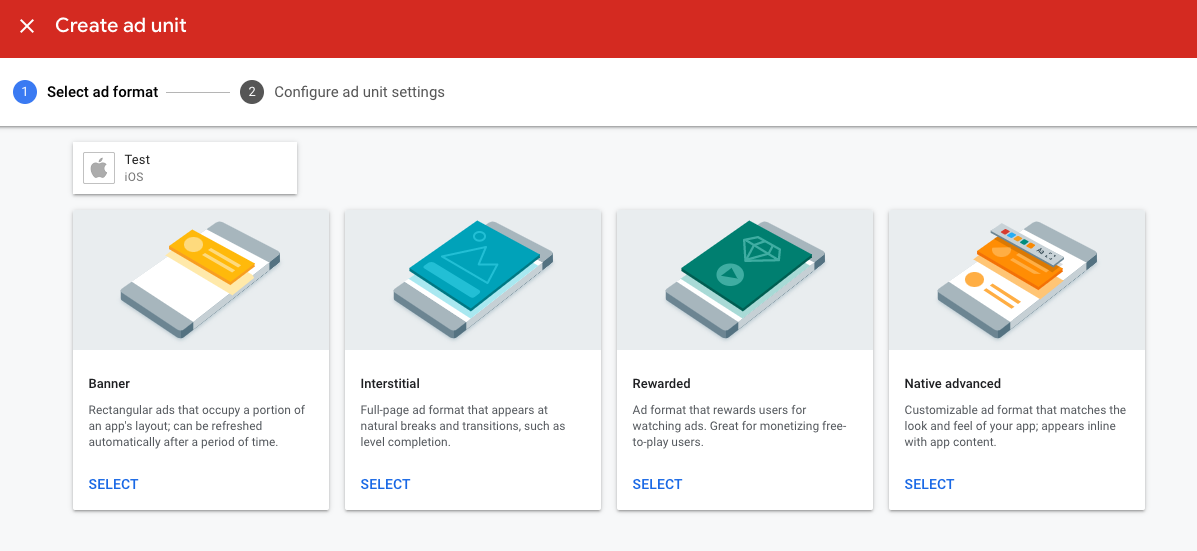
After adding your app:
- Click Ad Units → Add Ad Unit.
- Select the ad format: Banner, Interstitial, or Rewarded.
- Name your ad unit and configure it.
- Click Create Ad Unit.
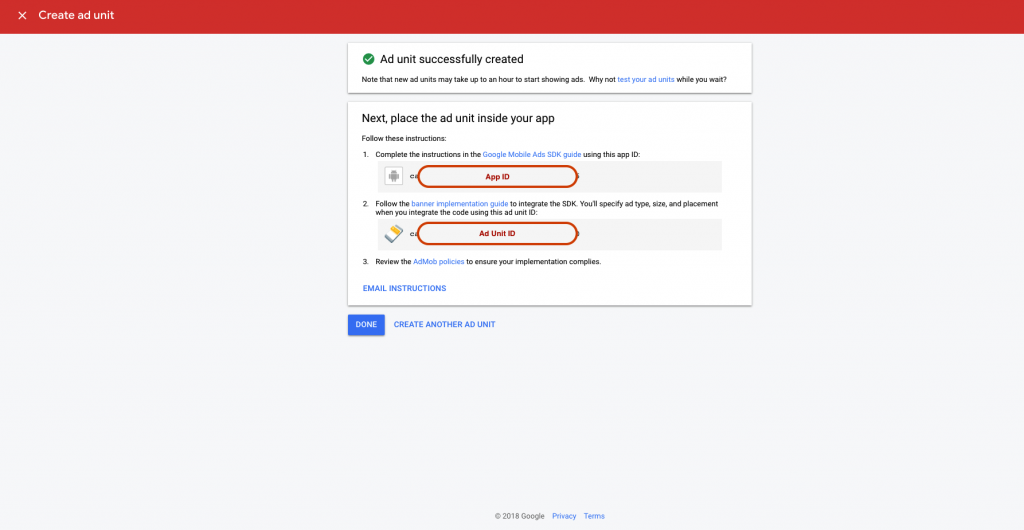
5. Locate Your App ID and Ad Unit ID
After creating ad units, you’ll see:
- App ID – Unique identifier for your app.
- Ad Unit ID – Identifier for each specific ad format.
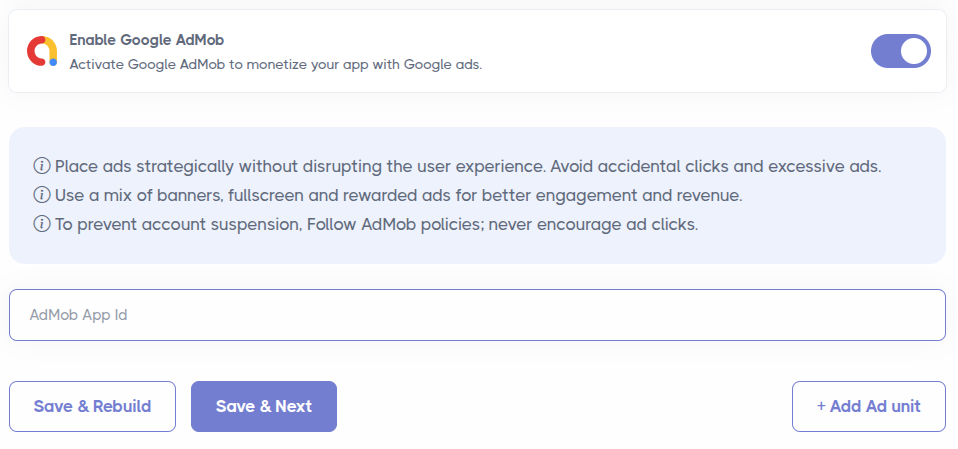
6. Configure Your WebToApps Mobile App
Go to webtoapps.com , enter your AdMob App ID and Ad Unit IDs in the project settings, and rebuild your app.
7. No Manual SDK Integration Required
WebToApps automatically includes the necessary AdMob SDKs for Android and iOS. No coding or configuration needed on your part.
8. Best Practices
To get the most out of Google AdMob while keeping users happy, it's best to use a limited number of well-placed ads. Avoid cluttering your app with too many ad units, and choose formats like banners, interstitials, or rewarded ads based on user flow. Always follow Google’s ad policies, especially avoiding accidental clicks or misleading placements. Prioritize user experience by not interrupting key actions and by using proper frequency caps. Leveraging mediation, setting content ratings, and monitoring app performance regularly will help you maximize revenue without hurting retention or risking policy violations.